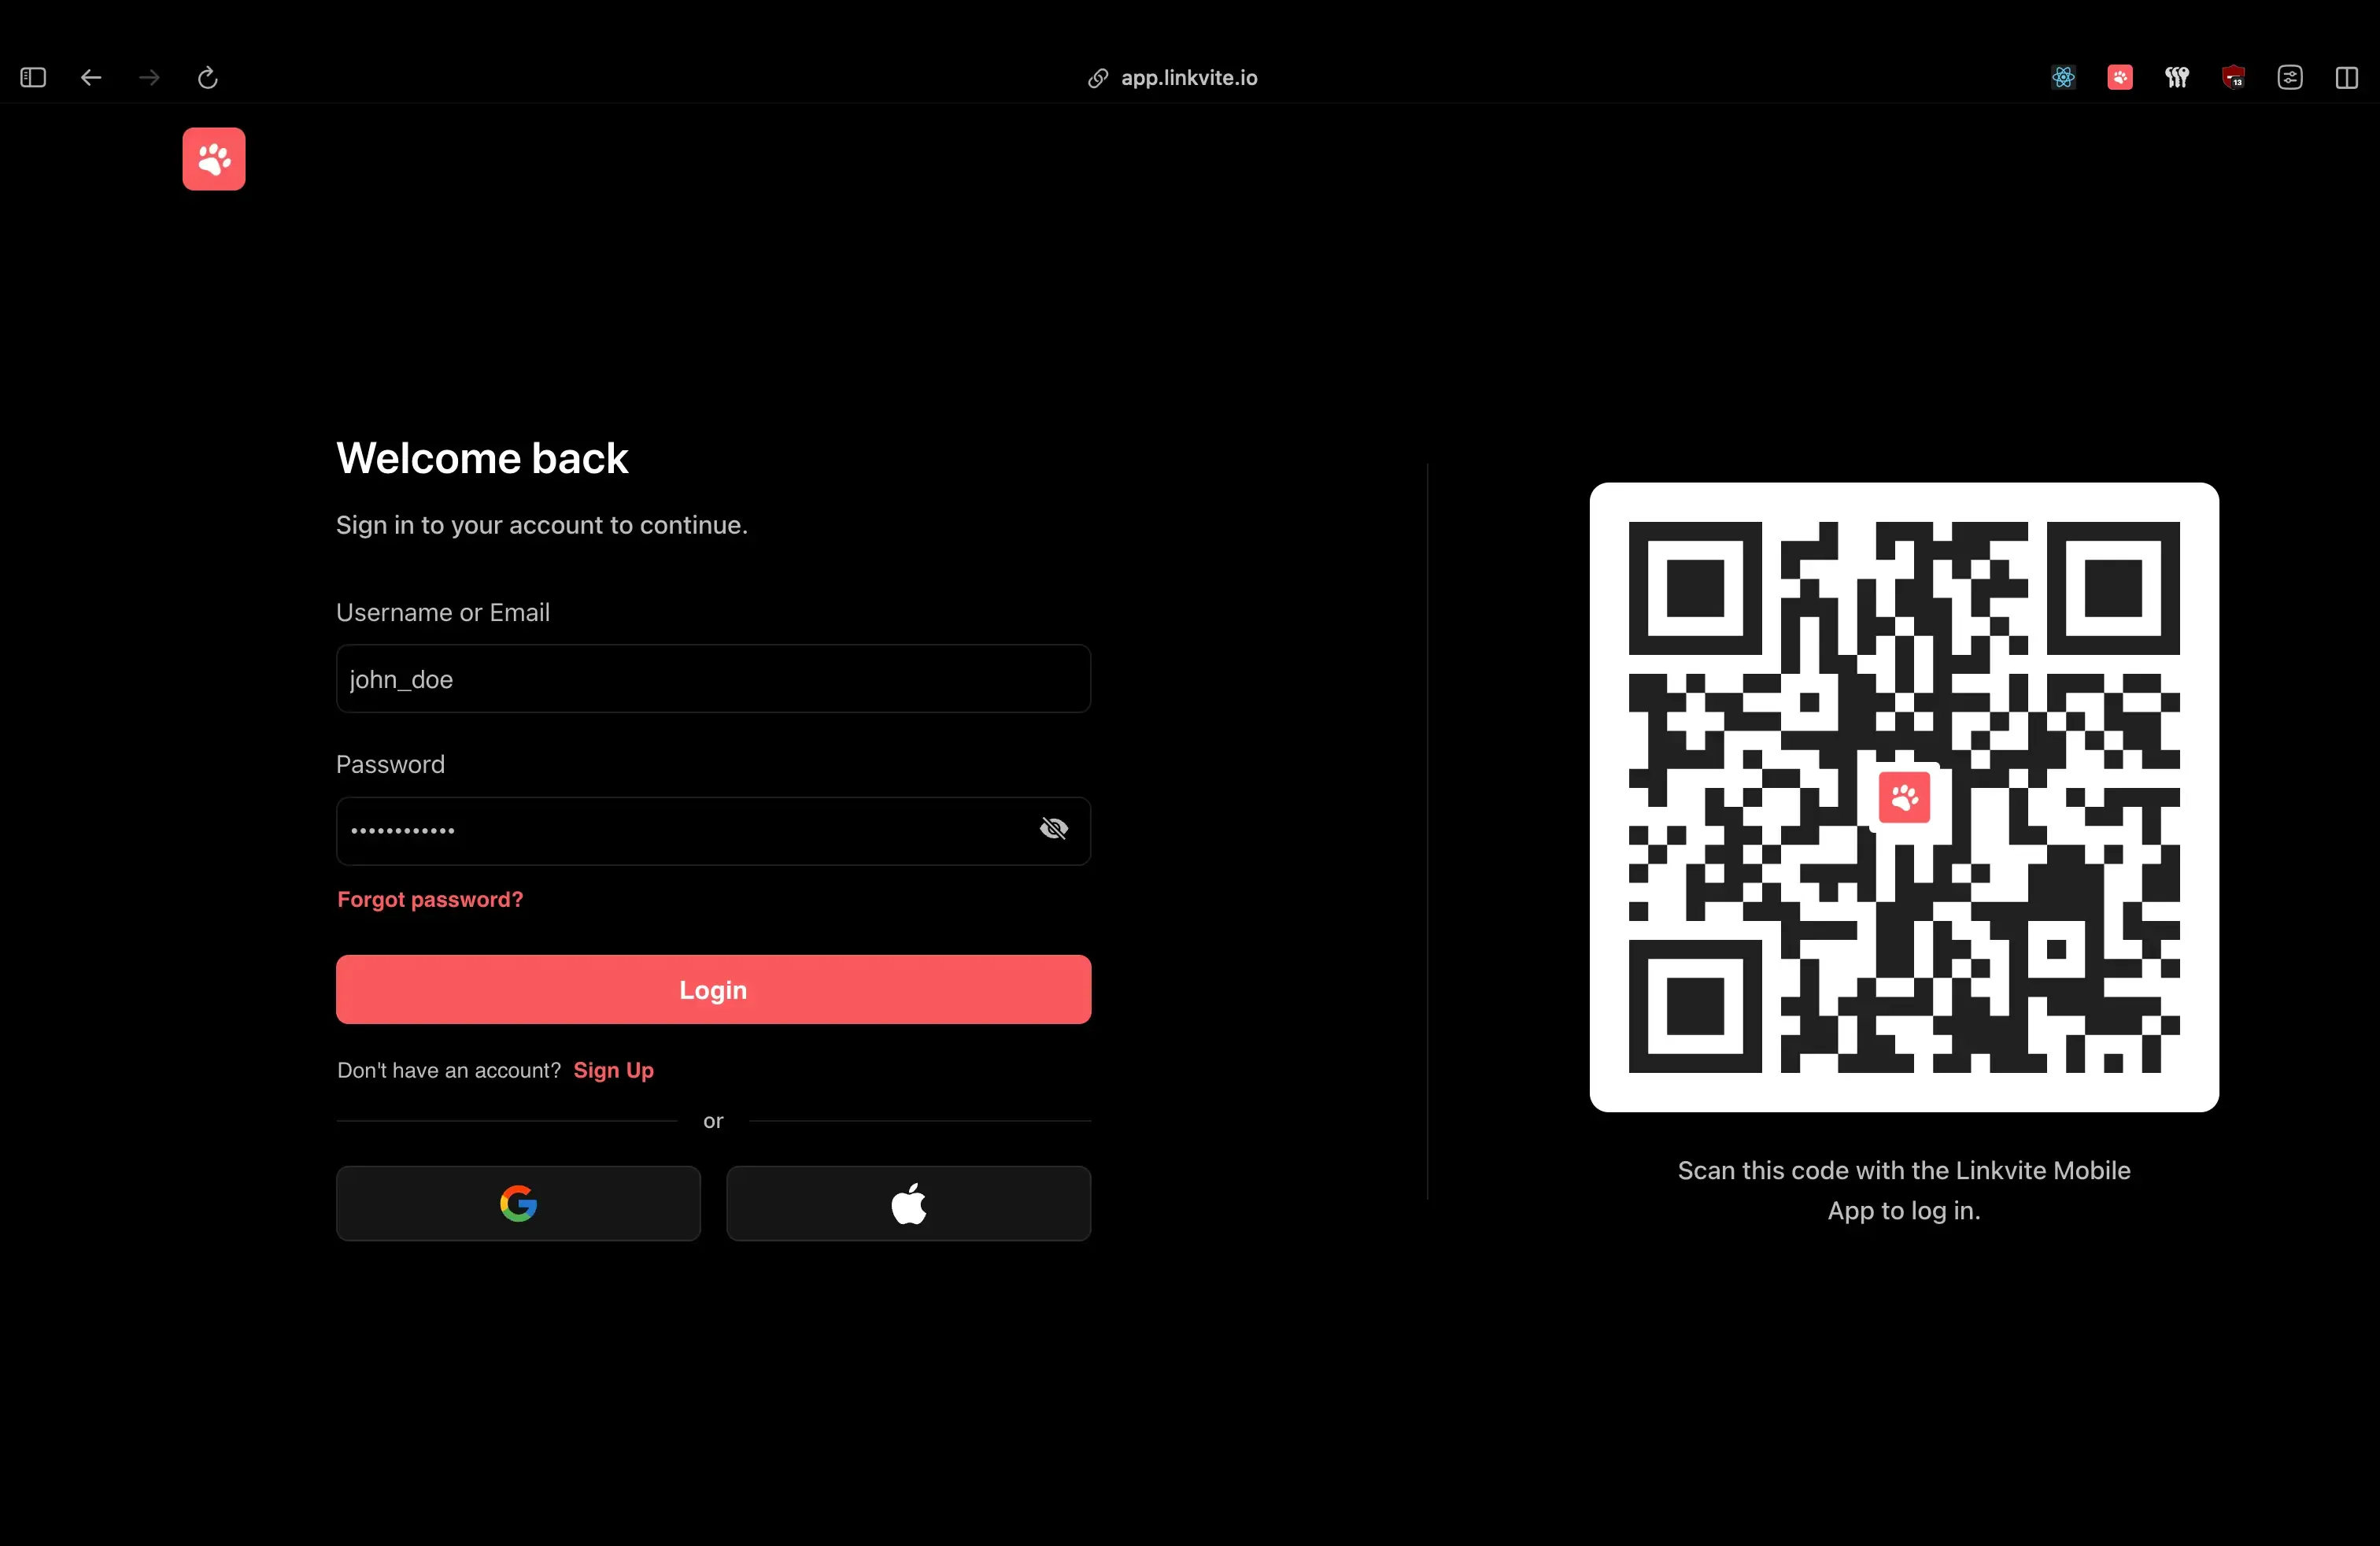
login page shows the QR code alongside traditional auth options.
Introduction
Scan a QR code, and you’re logged in. No passwords, no 2FA codes. WhatsApp, Discord, and TikTok all do this so I wanted to understand how, then build it for Linkvite.
Linkvite is a bookmark management platform I built to help users save, share, and organize bookmarks across devices. A big part of the vision is seamless cross-device experiences, so QR authentication felt like a natural fit.
This post breaks down the architecture, the security model, and the implementation details I landed on after reverse-engineering the big players.
The Problem
Traditional login flows ask users to prove their identity on a device where they’re not already authenticated, when they have a phone in their pocket that already knows who they are.
The friction adds up: forgotten passwords, 2FA codes copied between devices, and weak passwords chosen to avoid the hassle.
Why QR Authentication?
QR authentication flips the trust model: instead of proving your identity on an untrusted device, you delegate trust from a device that already knows who you are.
Think of it like a bouncer checking with your friend who’s already inside, rather than asking you for ID at the door.
The user journey:
- Open login page on desktop → see QR code
- Open mobile app (already logged in) → scan QR code
- See confirmation: “Log in to Desktop?”
- Tap “Approve” → desktop is now logged in
Benefits:
- Zero typing: No passwords, no codes
- Phishing-resistant: Harder to intercept than typed credentials
- Device trust delegation: Mobile vouches for desktop
- Instant feedback: Real-time status updates
The challenge: Coordinating state across two completely separate devices in real-time, securely, with good UX for all edge cases.
How the Big Players Do It
Before building, I studied how TikTok, Discord, and WhatsApp implement QR authentication. There are two fundamentally different approaches:
TikTok: Polling
TikTok uses a polling-based approach where the desktop repeatedly hits an endpoint every few seconds, checking if the status changed:
Desktop                          Backend
   │                                │
   ├──GET /qr-auth/status──────────►│
   │◄──{status: "pending"}──────────│
   │                                │
   │  ... wait 2 seconds ...        │
   │                                │
   ├──GET /qr-auth/status──────────►│
   │◄──{status: "scanned", user}────│  ← Mobile scanned
   │                                │
   ├──GET /qr-auth/status──────────►│
   │◄──{status: "confirmed", token}─│  ← Mobile approved
Simple to implement, works everywhere.
Discord & WhatsApp: WebSockets
Discord and WhatsApp use WebSocket-based real-time communication where the desktop maintains a persistent connection, and when state changes, the server pushes instantly:
Desktop                          Backend                    Mobile
   │                                │                          │
   ├─────────WS connect────────────►│                          │
   │                                │◄──POST /qr-auth/scan─────│
   │◄──{event: "scanned", user}─────│                          │
   │                                │◄──POST /qr-auth/confirm──┤
   │◄──{event: "confirmed", token}──│                          │
The Tradeoffs
| Aspect | Polling (TikTok) | WebSockets (Discord/WhatsApp) |
|---|---|---|
| Latency | 0-N seconds (depends on interval) | Near-instant (< 100ms) |
| Server load | Higher (constant requests) | Lower (push only on change) |
| Complexity | Simple HTTP endpoints | Connection management, heartbeats |
| Infrastructure | Standard HTTP servers | WebSocket server or service |
| Reliability | Very high (stateless) | Needs reconnection handling |
| Scaling | Easy (stateless) | Requires sticky sessions or pub/sub |
Why I Chose WebSockets
For Linkvite, I went with the WebSocket approach for a few reasons:
- Instant feedback: When you scan, the desktop updates immediately. No awkward 2-second delay.
- Better UX: The desktop can show “Waiting for scan…” → “Scanned by @user” → “Logged in!” transitions smoothly.
- Already had Centrifugo: We use Centrifugo for other real-time features, so the infrastructure was already there.
The tradeoff: complexity. But Centrifugo handles all the WebSocket edge cases (reconnection storms, connection cleanup, memory leaks) that I don’t want to debug at 3am.
Architecture Overview
The system has three components that coordinate in real-time:
Web (Desktop)              Backend (Go)              Mobile (React Native)
     │                          │                           │
1.   ├──POST /qr-auth/new──────►│                           │
     │◄──{endpoint, token}──────│                           │
     │                          │                           │
2.   ├──WebSocket connect──────►│ (Centrifugo)              │
     │   subscribe #sessionID   │                           │
     │                          │                           │
3.   │         [User scans QR code with phone camera]       │
     │                          │                           │
4.   │                          │◄──POST /qr-auth/join──────┤
     │                          │   {sessionID, userID}     │
     │                          │                           │
5.   │◄──qr:session:validated───│                           │
     │   {name, avatar}         │                           │
     │                          │                           │
6.   │                          │◄──POST /qr-auth/accept────┤
     │                          │   (authenticated)         │
     │                          │                           │
7.   │◄──qr:session:accepted────│                           │
     │   {user, tokens}         │                           │
Step-by-step:
- Desktop requests QR session → Backend creates session, returns URL + JWT token
- Desktop connects to WebSocket → Subscribes to channel
#sessionIDfor real-time events - User scans QR code → Mobile camera reads the URL containing session ID
- Mobile joins session → Backend binds the authenticated user to the session
- Desktop gets notified → Shows “Log in as @username?” with avatar
- User approves on mobile → Backend generates auth tokens
- Desktop receives tokens → Via WebSocket, instantly
- Desktop initializes session → Stores tokens, user is now logged in
Tech Stack:
| Component | Technology | Why |
|---|---|---|
| Backend | Go + Fiber | Fast, simple, great for real-time |
| Real-time | Centrifugo | Dedicated WebSocket server, handles scale |
| Session Storage | Redis | Ephemeral data with TTL, no cleanup needed |
| Auth Tokens | JWT (HS256) | Stateless, self-contained |
| Mobile | React Native + Expo | Cross-platform, native camera access |
| Web | React | Component-based, easy state management |
Design Decisions
Why Redis Instead of PostgreSQL?
QR sessions are ephemeral by nature, ie: they exist for a few minutes at most, then they’re either used or expired. Storing them in PostgreSQL would mean wasted writes, cleanup jobs, and index bloat for data that lives 3 minutes.
Redis with TTL is perfect:
// Store with 3-minute TTL - Redis auto-deletes when expired
key := fmt.Sprintf(cache.KEY_QR_AUTH, q.ID)  // "qr_abc123"
err = cache.Set(key, string(data), cache.DURATION_QR_AUTH)  // 3 minutes
When the TTL hits, the key vanishes. No cron jobs, no cleanup queries.
Why Centrifugo Instead of Rolling Our Own?
I considered embedding WebSocket handling directly using gorilla/websocket or Fiber’s WebSocket support. Here’s the tradeoff:
Built-in WebSockets:
- ✅ Simpler deployment (single binary)
- ✅ No external dependency
- ❌ Connection management complexity (heartbeats, reconnection)
- ❌ Scaling requires sticky sessions or Redis pub/sub implementation
- ❌ Easy to introduce subtle bugs in concurrent connection handling
Centrifugo:
- ✅ Battle-tested at scale (100K+ concurrent connections)
- ✅ Built-in Redis adapter for horizontal scaling
- ✅ Handles reconnection, presence, message history automatically
- ✅ JWT-based channel auth out of the box
- ❌ Additional service to deploy and monitor
For QR auth specifically, the latency difference (milliseconds vs tens of milliseconds) is imperceptible. What matters is reliability.
Publishing events from Go is simple:
msg := types.Payload{
    Event:    "qr:session:validated",
    Channels: []string{"#" + q.ID},
    Data: map[string]interface{}{
        "name":     user.Name,
        "avatar":   user.Avatar,
        "username": user.Username,
    },
}

go func(msg types.Payload) {
    h.notify.SendSocketEvent(msg)
}(msg)
Why Two-Step Confirmation (Join + Accept)?
You might wonder: why not authenticate immediately when the QR is scanned? Why require a separate “Accept” step?
Security reasons:
- Explicit consent: User consciously approves the login
- Preview before commit: Desktop shows “Log in as @username?” before any tokens are issued
- Cancellation window: User can back out after scanning
UX reasons:
- Confirmation reduces errors: Accidental scans don’t cause logins
- Trust building: User sees their avatar on desktop before approving
- Familiar pattern: Matches WhatsApp/Discord flow users expect
The two-step flow also enables the “Not you?” feature on desktop. If the wrong person scans, the intended user can restart the session.
Implementation Deep-Dive
The Data Model
The QR session is intentionally minimal:
type QRAuth struct {
    ID        string    `json:"id"`         // Prefixed unique ID (qr_xxx)
    UserID    string    `json:"user_id"`    // Empty until mobile joins
    Token     string    `json:"token"`      // JWT for WebSocket auth
    ExpiresAt time.Time `json:"expires_at"`
    CreatedAt time.Time `json:"created_at"`
}
Why UserID starts empty: The session is created by the desktop (unauthenticated). The UserID is only set when an authenticated mobile user joins. This separation lets us detect if a session has already been claimed.
Creating the Session
When the desktop loads the login page, it requests a new QR session:
func (h *handler) startQRAuthSession(c *fiber.Ctx) error {
    res := response.New(c)

    // Generate prefixed ID: "qr_abc123..."
    qID, err := prefixid.New(prefixid.QRAuthPrefix)
    if err != nil {
        return res.Error(response.Data{
            Stack:  err,
            Status: fiber.StatusInternalServerError,
        })
    }

    q := new(models.QRAuth).New(qID)

    // Create JWT for Centrifugo subscription
    // Subject = session ID, so client can only subscribe to their channel
    pl := jwt.Payload{
        Subject:        q.ID,
        Issuer:         "linkvite",
        JWTID:          uuid.NewString(),
        Audience:       jwt.Audience{"linkvite"},
        IssuedAt:       jwt.NumericDate(time.Now().UTC()),
        ExpirationTime: jwt.NumericDate(time.Now().UTC().Add(5 * time.Minute)),
    }

    key := jwt.NewHS256([]byte(config.Vars.JWTSecret))
    token, err := jwt.Sign(pl, key)
    if err != nil {
        return res.Error(response.Data{
            Stack:  err,
            Status: fiber.StatusInternalServerError,
        })
    }

    q.Token = string(token)
    if err := h.services.QRAuth.Create(q); err != nil {
        return res.Error(response.Data{Stack: err})
    }

    // Build the URL that becomes the QR code
    endpoint := fmt.Sprintf("%s/qr-auth/%s", config.Vars.WebURL, q.ID)

    return res.Success(response.Data{
        Data: schema.StartQRAuthSessionResponse{
            Endpoint: endpoint,  // -> "https://linkvite.io/qr-auth/qr_abc123"
            Token:    string(token),
        },
    })
}
The desktop receives two things:
endpoint: The URL encoded in the QR code (e.g.,https://linkvite.io/qr-auth/qr_abc123)token: A JWT for authenticating the WebSocket connection
The desktop then renders the QR code and connects to Centrifugo:
const data = await fetch(`${API_ENDPOINT}/qr-auth/new`, { method: "POST" });
const { endpoint, token } = data.data;

// Render endpoint as QR code
setQR((prev) => ({ ...prev, code: endpoint }));

// Connect to Centrifugo with the JWT
ws.current = new Centrifuge(centrifugoTransports, { token });
ws.current.on("publication", processEvent).connect();
The JWT’s sub claim (set to the session ID) tells Centrifugo which channel this client can subscribe to. When mobile scans and joins, events published to #qr_abc123 reach only this desktop.
Desktop: Handling Real-Time Events
The React component handles the WebSocket lifecycle and state transitions:
function processEvent(ctx: ServerPublicationContext) {
    const data = ctx?.data?.data;
    const event = ctx?.data?.event as string;

    if (event === "qr:session:closed") {
        // Mobile user cancelled
        showToast({ title: "Error", message: "QR session closed by the other device." });
        restartSession();
    }

    if (event === "qr:session:validated") {
        // Mobile scanned and joined - show who's logging in
        setQR((prev) => ({ ...prev, owner: data }));
    }

    if (event === "qr:session:accepted") {
        // Mobile approved - we have tokens!
        const { refresh_token, user } = data as AuthResponse;
        login(user, refresh_token);
        showToast({ title: "Success", message: "Logged in!" });
    }
}
After scanning, the desktop instantly shows who’s logging in:
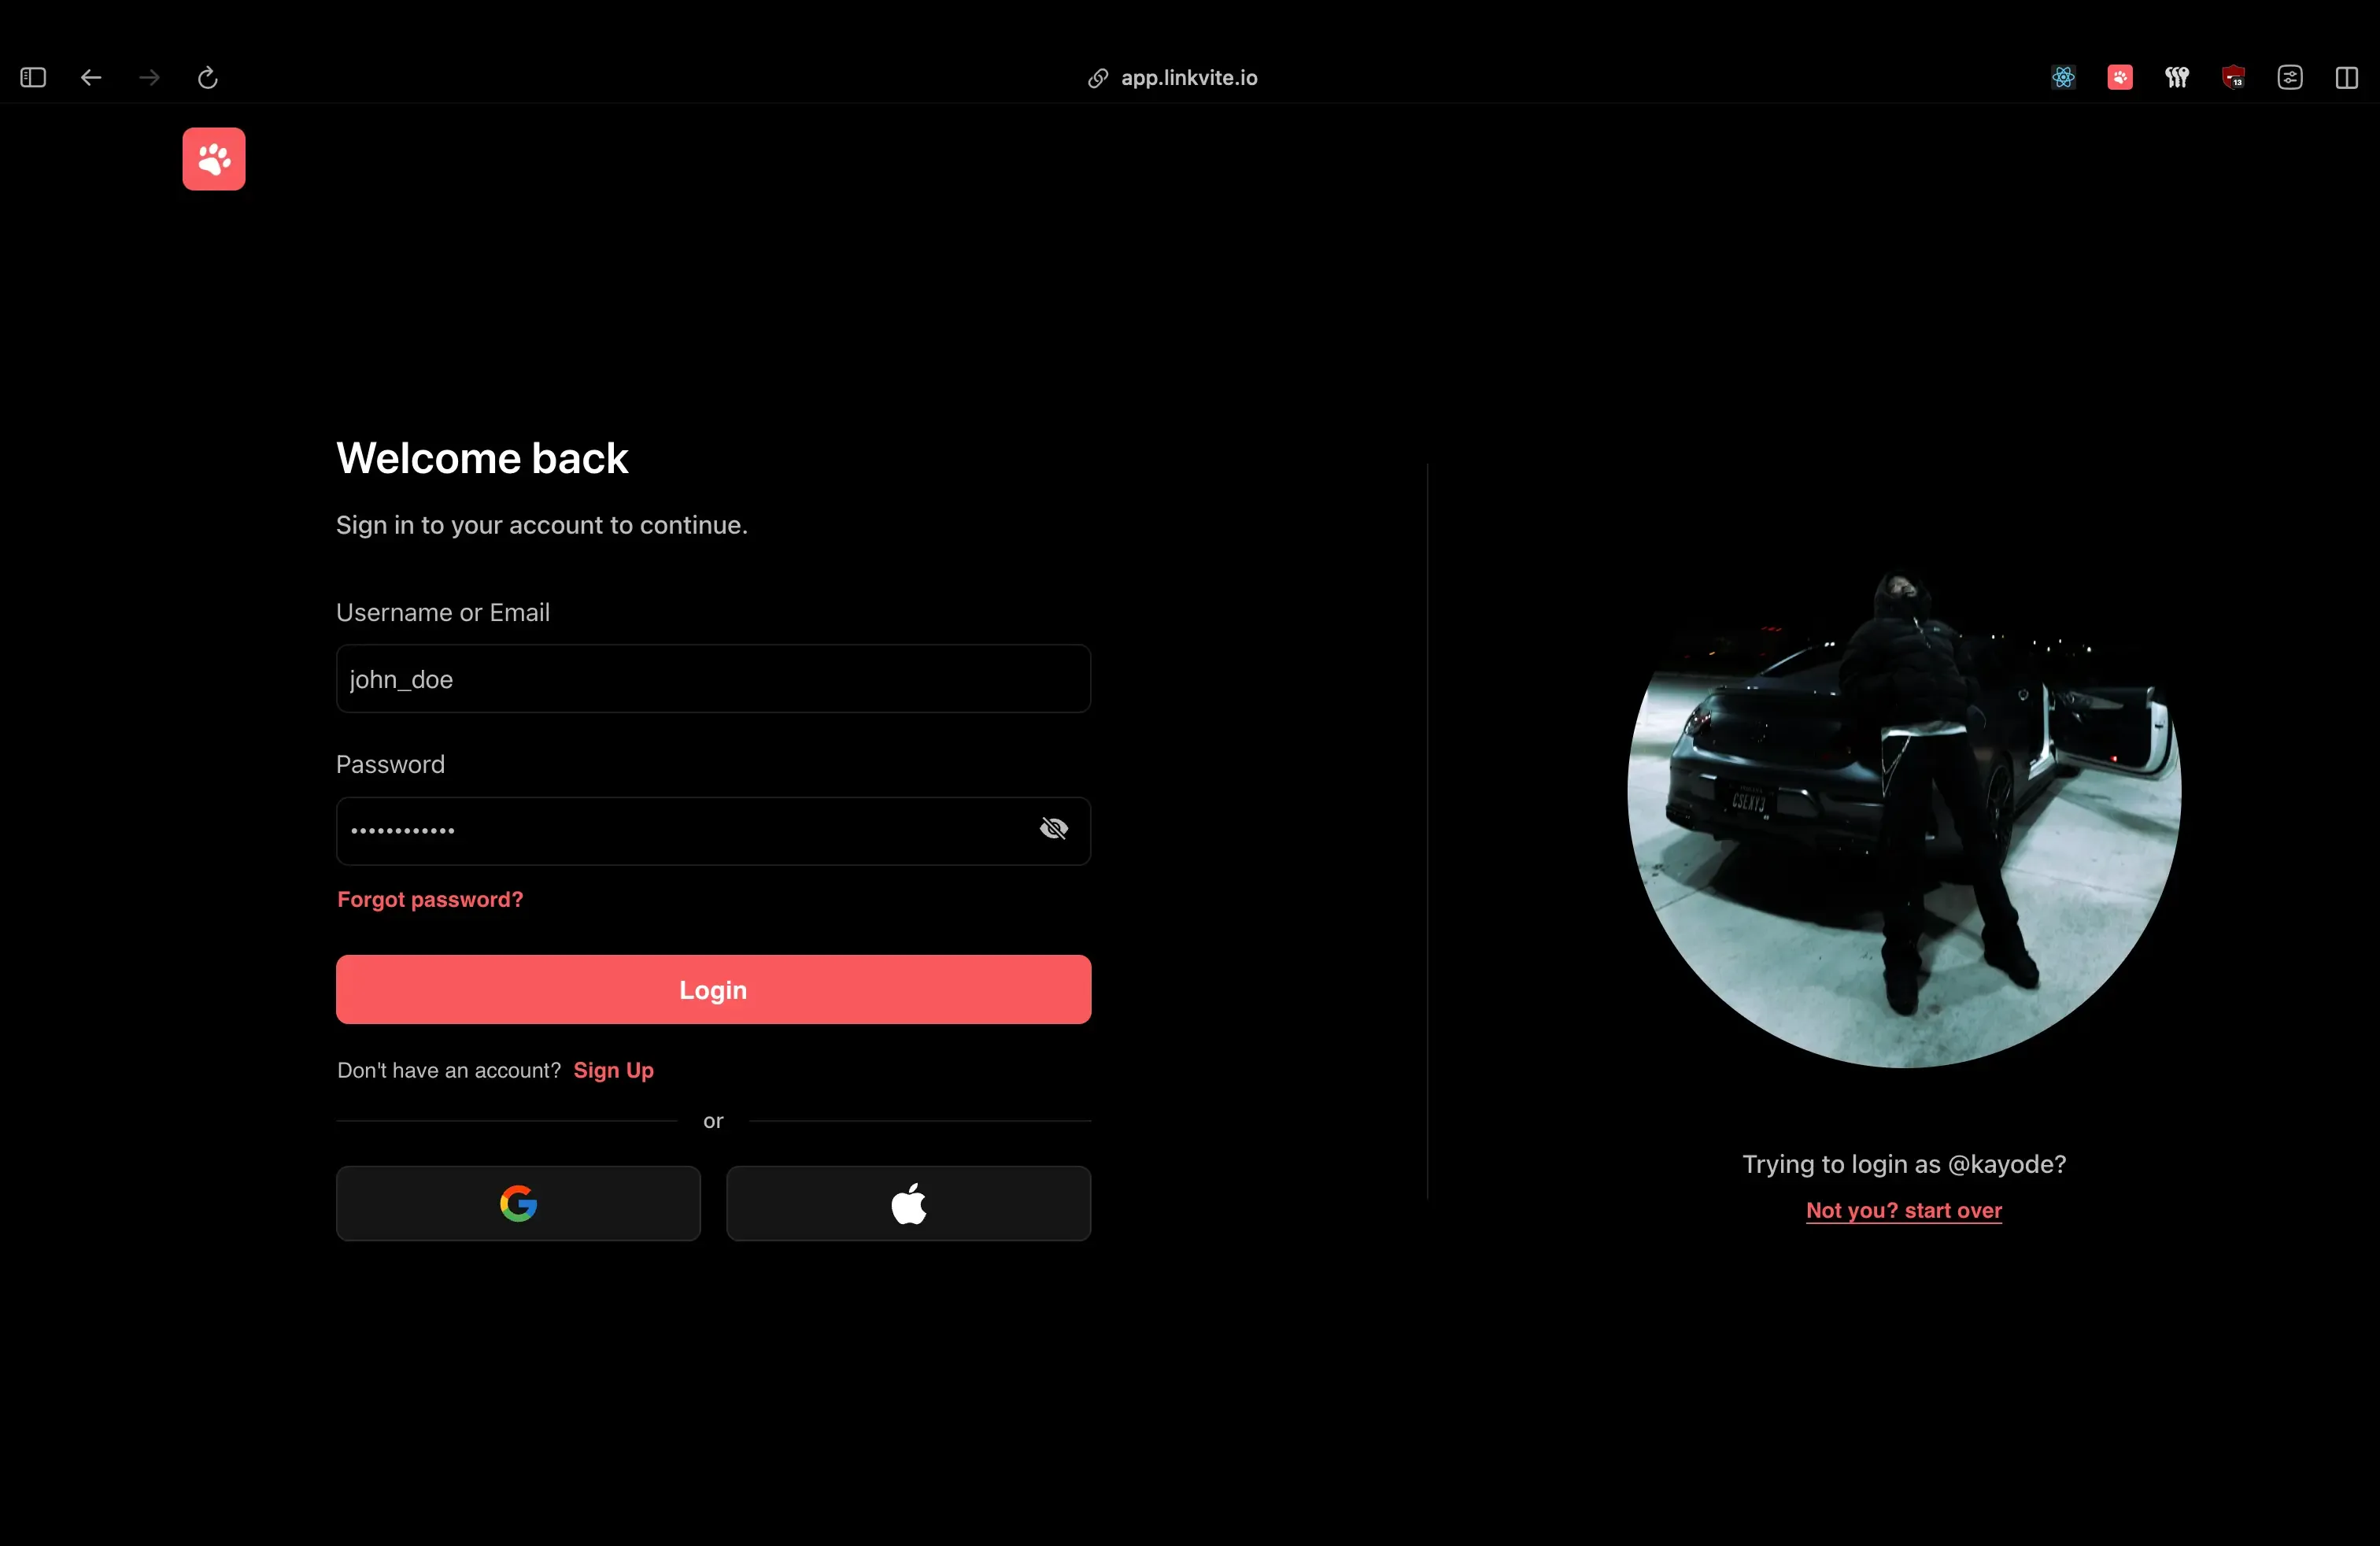
The QR code is replaced with the user’s avatar with a bail-out option if it’s the wrong account.
Mobile: Joining the Session
When the user scans the QR code, the mobile app validates the URL and joins the session:
func (h *handler) joinQRAuthSession(c *fiber.Ctx) error {
    res := response.New(c)
    id := c.Params("id", "")
    uID := c.Params("user", "")

    q, err := h.services.QRAuth.GetByID(id)
    if err != nil {
        return res.Error(response.Data{Stack: err})
    }

    // CRITICAL: Check if session already claimed
    if q.UserID != "" {
        h.rejectQRSession(q)
        return res.Error(response.Data{
            Status:  fiber.StatusBadRequest,
            Message: "session already started",
        })
    }

    user, err := h.services.Users.GetByPublicID(uID)
    if err != nil {
        h.rejectQRSession(q)
        return res.Error(response.Data{Stack: err})
    }

    // Bind user to session
    q.UserID = user.PublicID
    h.services.QRAuth.UpdateOne(q)

    // Notify desktop: "User X wants to log in"
    msg := types.Payload{
        Event:    "qr:session:validated",
        Channels: []string{"#" + q.ID},
        Data: map[string]interface{}{
            "name":     user.Name,
            "avatar":   user.Avatar,
            "username": user.Username,
        },
    }
    go h.notify.SendSocketEvent(msg)

    return res.Success(response.Data{Data: q})
}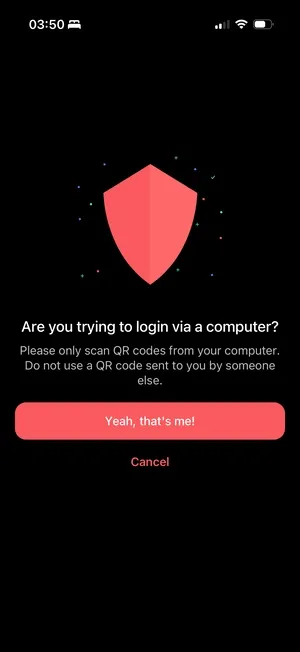
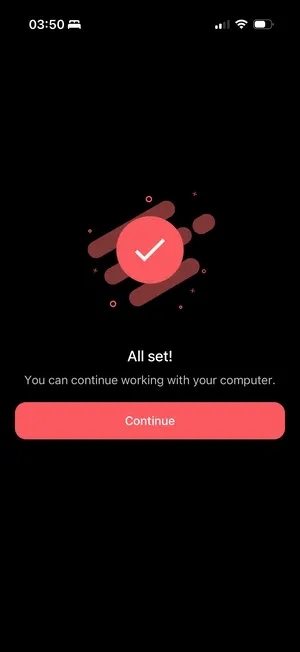
Left: The app warns against scanning codes sent by others, a simple phishing defense. Right: Confirmation that the desktop is logged in.
Mobile: Accepting the Session
When the user taps “Approve”:
func (h *handler) acceptQRAuthSession(c *fiber.Ctx) error {
    res := response.New(c)
    id := c.Params("id", "")

    q, err := h.services.QRAuth.GetByID(id)
    if err != nil {
        return res.Error(response.Data{Stack: err})
    }

    user, err := getLoggedInUser(c)
    if err != nil {
        h.rejectQRSession(q)
        return res.Error(response.Data{Stack: err})
    }

    // CRITICAL: Verify the accepting user matches the bound user
    if q.UserID != user.PublicID {
        h.rejectQRSession(q)
        return res.Error(response.Data{
            Status:  fiber.StatusUnauthorized,
            Message: "user is not authorized",
        })
    }

    // Generate auth tokens for the desktop session
    tokens, err := jwt.NewTokens(jwt.GenericPayload{
        UserID:   user.PublicID,
        AuthType: jwt.AuthTypePassword,
    })
    if err != nil {
        h.rejectQRSession(q)
        return res.Error(response.Data{Stack: err})
    }

    // Delete session immediately - one-time use
    h.services.QRAuth.Delete(q.ID)

    // Broadcast tokens to desktop via WebSocket
    msg := types.Payload{
        Event:    "qr:session:accepted",
        Channels: []string{"#" + q.ID},
        Data: map[string]interface{}{
            "user":          user,
            "access_token":  tokens.Access,
            "refresh_token": tokens.Refresh,
        },
    }
    go h.notify.SendSocketEvent(msg)

    return res.Success(response.Data{Message: "qr auth session accepted"})
}
Security Considerations
1. Short-Lived Sessions
Sessions have multiple expiration mechanisms:
// JWT expires in 5 minutes
ExpirationTime: jwt.NumericDate(time.Now().UTC().Add(5 * time.Minute))

// Redis cache expires in 3 minutes
const DURATION_QR_AUTH = 3 * time.Minute
The cache TTL is intentionally shorter than the JWT expiry. This ensures the session data is gone before the token becomes invalid, providing a clean error path.
2. One-Time Use
Sessions are deleted immediately after acceptance:
// Delete session immediately - can never be reused
h.services.QRAuth.Delete(q.ID)
Even if someone intercepts the WebSocket message, the session no longer exists and they can’t replay the flow.
3. User Binding Verification
The accepting user must match the user who joined:
if q.UserID != user.PublicID {
    h.rejectQRSession(q)
    return res.Error(response.Data{
        Status:  fiber.StatusUnauthorized,
        Message: "user is not authorized",
    })
}
This prevents session hijacking where an attacker tries to accept a session they didn’t join.
4. First-Scanner-Wins
if q.UserID != "" {
    h.rejectQRSession(q)
    return res.Error(response.Data{
        Status:  fiber.StatusBadRequest,
        Message: "session already started",
    })
}
If two people scan the same QR code, the first one binds to the session, the second gets rejected with a clear error.
5. Rate Limiting
router.Use(middlewares.UseLimiter(10, 5)) // 10 requests per 5 secondsPrevents brute force attempts to guess session IDs or spam session creation.
6. URL Domain Validation
Mobile only accepts Linkvite URLs:
function isValidLink(link: string) {
    return (
        link.startsWith("linkvite://") ||
        link.startsWith("https://linkvite.io") ||
        link.startsWith("https://app.linkvite.io")
    );
}
A malicious QR code pointing to https://evil.com/qr-auth/... gets rejected before anything happens.
7. WebSocket Channel Isolation
Centrifugo’s # prefix creates a user channel boundary. For a channel like #qr_abc123, only a client whose JWT sub claim matches qr_abc123 can subscribe. Centrifugo extracts this claim automatically and enforces access. Each QR session uses this to ensure only the intended client can receive events.
8. Shared JWT Verification
Both the Go backend and Centrifugo verify tokens using the same HS256 secret. When creating a QR session, the backend signs a JWT with a shared secret. Centrifugo is configured with this same secret, allowing it to independently verify tokens without calling the backend. This keeps authentication stateless while ensuring only valid tokens can subscribe to session channels.
Edge Cases & Error Handling
Session Expires While User is Deciding
The web client auto-restarts every 5 minutes:
useEffect(() => {
    const FIVE_MINUTES = 5 * 60 * 1000;
    const interval = setInterval(() => {
        restartSession();
    }, FIVE_MINUTES);
    return () => clearInterval(interval);
}, []);
If the mobile user takes too long, they’ll get a “session not found” error when trying to accept.
Desktop User Closes the Modal
We notify the mobile device so they don’t sit on a dead screen:
async function closeSession() {
    const { id } = parseQRAuth(qr.code);
    if (id) {
        ws.current?.publish(`#${id}`, { event: "qr:session:canceled" });
    }
    ws.current?.disconnect();
}
Mobile User Navigates Away
We hook into React Navigation to clean up:
useEffect(() => {
    navigation.addListener("beforeRemove", (e) => {
        if (!qr.data || qr.success) return;

        e.preventDefault();
        rejectQRSession(true);  // Delete session, notify desktop
        navigation.dispatch(e.data.action);
    });
}, [navigation, qr.data, qr.success, rejectQRSession]);
Wrong Person Scans QR Code
Desktop shows a “Not you?” link that restarts the session:
{qr.owner ? (
    <AlreadyRegistered onClick={restartSession}>
        Not you? Start over
    </AlreadyRegistered>
) : null}
Network Failure During Accept
If the /accept call fails, the session remains in Redis (until TTL). The mobile user can try again. The desktop doesn’t receive tokens, so no partial state.
What I’d Do Differently
1. Add Biometric Confirmation
Instead of just tapping “Approve”, require Face ID / Touch ID on mobile. This adds another factor: possession of the phone isn’t enough, you need to be the phone’s owner.
2. Device Fingerprinting
Track device characteristics (browser, OS, location) and show them on the mobile confirmation screen: “Log in to Chrome on MacOS in San Francisco?” This helps users spot suspicious login attempts.
3. Session History
Keep a log of QR auth events (anonymized) for security audit. Currently, sessions vanish completely after completion.
4. Offline Resilience
If the mobile device loses connection after scanning but before accepting, there’s no recovery path. Could add a “resume session” feature with a longer-lived session ID stored locally.
Conclusion
QR auth works because it inverts the problem. Instead of asking “prove who you are on this new device,” it asks “does a device you trust vouch for this one?”
The implementation details: WebSockets vs polling, Redis TTLs, first-scanner-wins etc are all in service of that core insight. Get the trust model right, and the UX feels like magic.
Key takeaways:
- Use cache with TTL for ephemeral sessions: Redis auto-expires, no cleanup jobs needed
- WebSockets for real-time coordination: Centrifugo handles the complexity
- Two-step flow (join + accept) for explicit consent and preview before committing
- First-scanner-wins prevents race conditions cleanly
- One-time use + immediate deletion prevents replay attacks
Both polling and WebSocket approaches work. TikTok proves polling is viable at massive scale. I chose WebSockets because instant feedback feels better and we already had the infrastructure. If you’re starting from scratch without a WebSocket server, polling might be the simpler choice.
The full implementation is live in Linkvite. Scan a code, you’re in.